
Pin
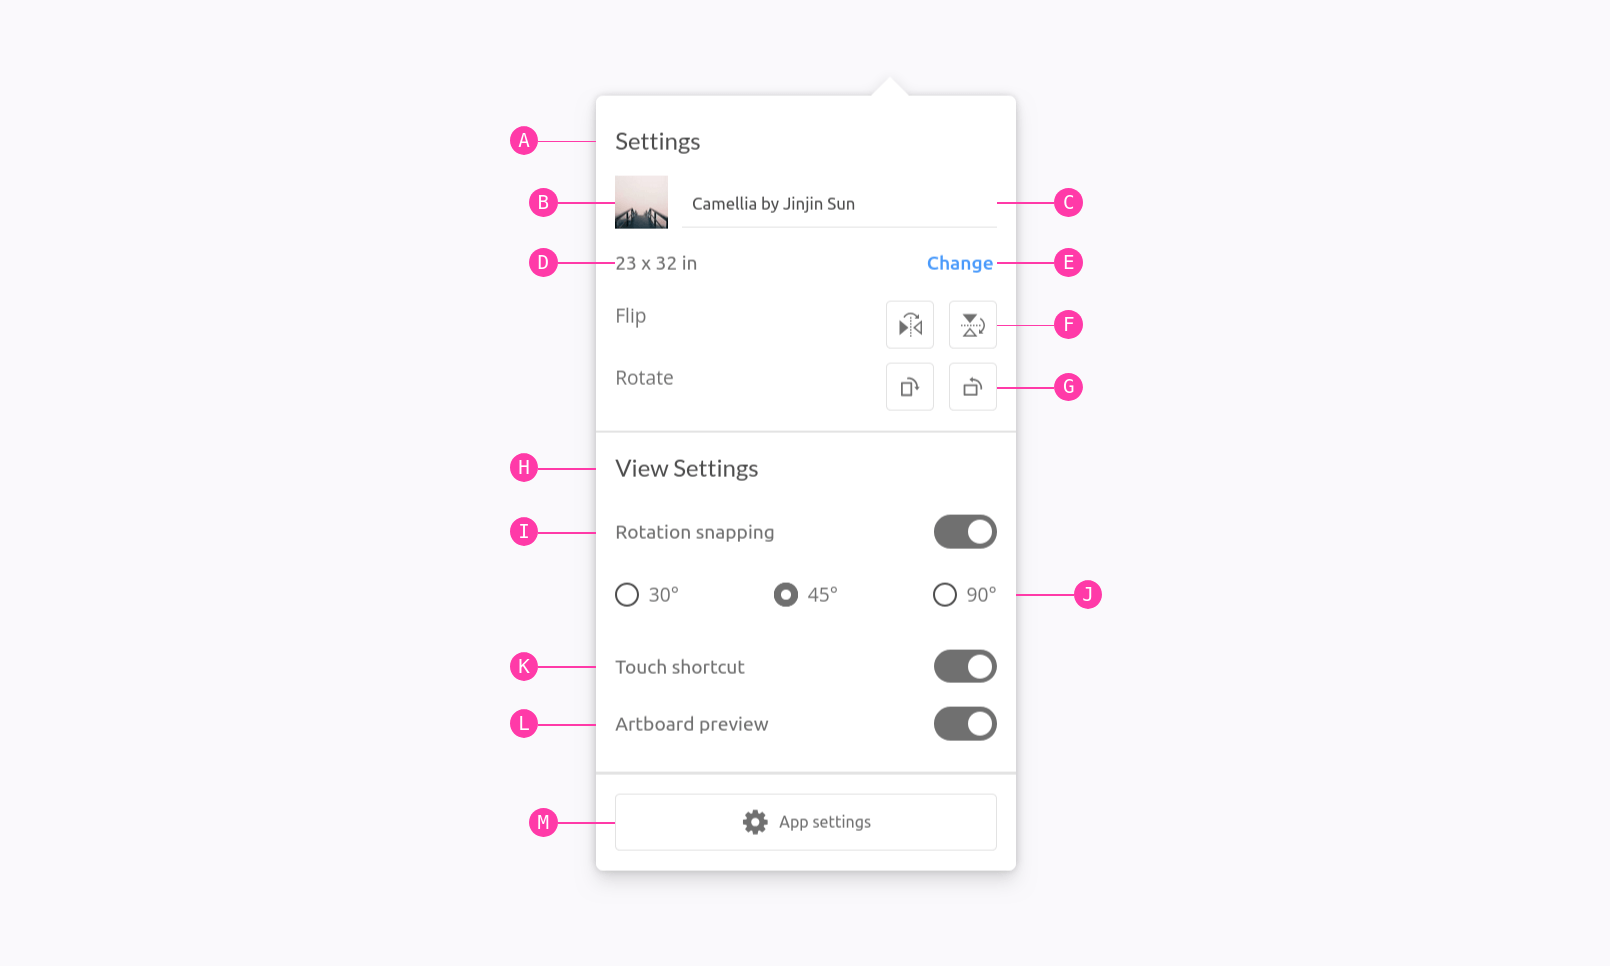
INFO
For more technical documentation, see the relevant documentation under the API-section.
Usage
Via <script>-tag
In the html use the following attribute. Remember to use the data-speccer="pin-area"-attribute on a parent element to scope the marking.
<script src="https://unpkg.com/@phun-ky/speccer/dist/speccer.js"></script>
<div data-speccer="pin-area">
  <div
    data-speccer="pin [bracket [curly] |enclose] [left|right|top|bottom]"
    class="…"
  ></div>
</div>
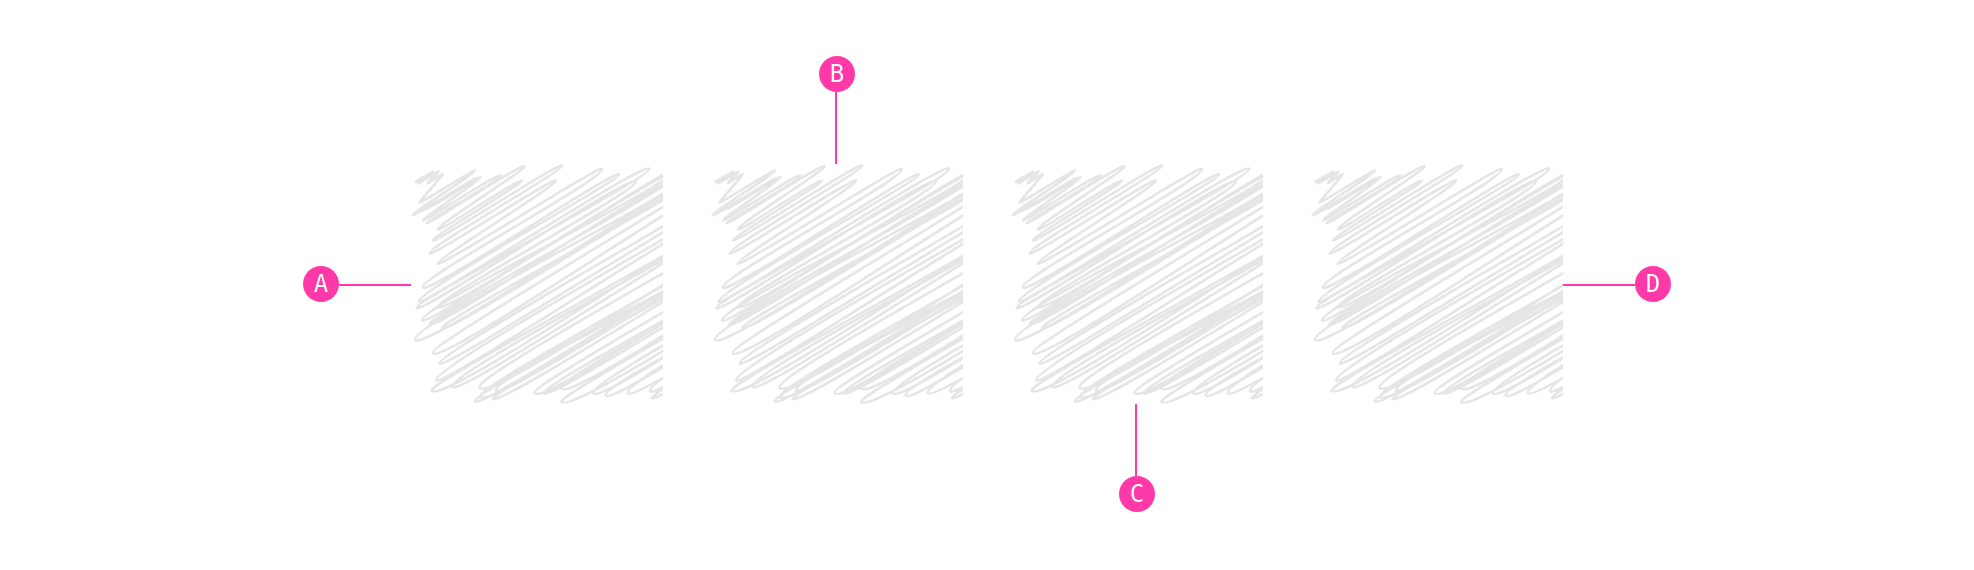
This will place a pin to the outline of the element. Default is top.
If no custom literals is used, the default literals are used:
/**
 * Array of uppercase letters.
 *
 * @type {string[]}
 * @example
 * ```ts
 * // Access the array of uppercase letters
 * const letters = SPECCER_LITERALS;
 * console.log(letters); // Example output: ['A', 'B', 'C', ...]
 * ```
 */
export const SPECCER_LITERALS: string[] = [...'ABCDEFGHIJKLMNOPQRSTUVWXYZ'];
Which means that if you have more pins than the character set, we try one more time with double characters, like so: Aa, Bb, … until we reach the end of the set. If you use the HTML way, and add a data-speccer="pin-area" to the parent container, the literals will reset for the next data-speccer="pin-area".
Programmatically
import { pin } from '@phun-ky/speccer';

const { pinElement } = pin;
const element = document.querySelector('.my-element');
const options = {
  slug: 'pinQuick',
  position: 'left', // could be left, top, right, bottom
  type: 'pin'
};
await pinElement(element, element.parentElement, 'A', options);
Feature options
For more control over the feature options, you can view the available settings in the reference section.
Default
Via <script>-tag
<script src="https://unpkg.com/@phun-ky/speccer/dist/speccer.js"></script>
<div data-speccer="pin-area">
  <div data-speccer="pin" class="…"></div>
</div>
Programmatically
const element = document.querySelector('.my-element');
const options = {
  slug: 'pinQuick',
  type: 'pin'
};
await pinElement(element, element.parentElement, 'A', options);
Bracket
Via <script>-tag
<script src="https://unpkg.com/@phun-ky/speccer/dist/speccer.js"></script>
<div data-speccer="pin-area">
  <div data-speccer="pin bracket" class="…"></div>
</div>
Programmatically
const element = document.querySelector('.my-element');
const options = {
  slug: 'pinQuick',
  type: 'pin',
  pin: {
    bracket: true
  }
};
await pinElement(element, element.parentElement, 'A', options);
Curly Brackets
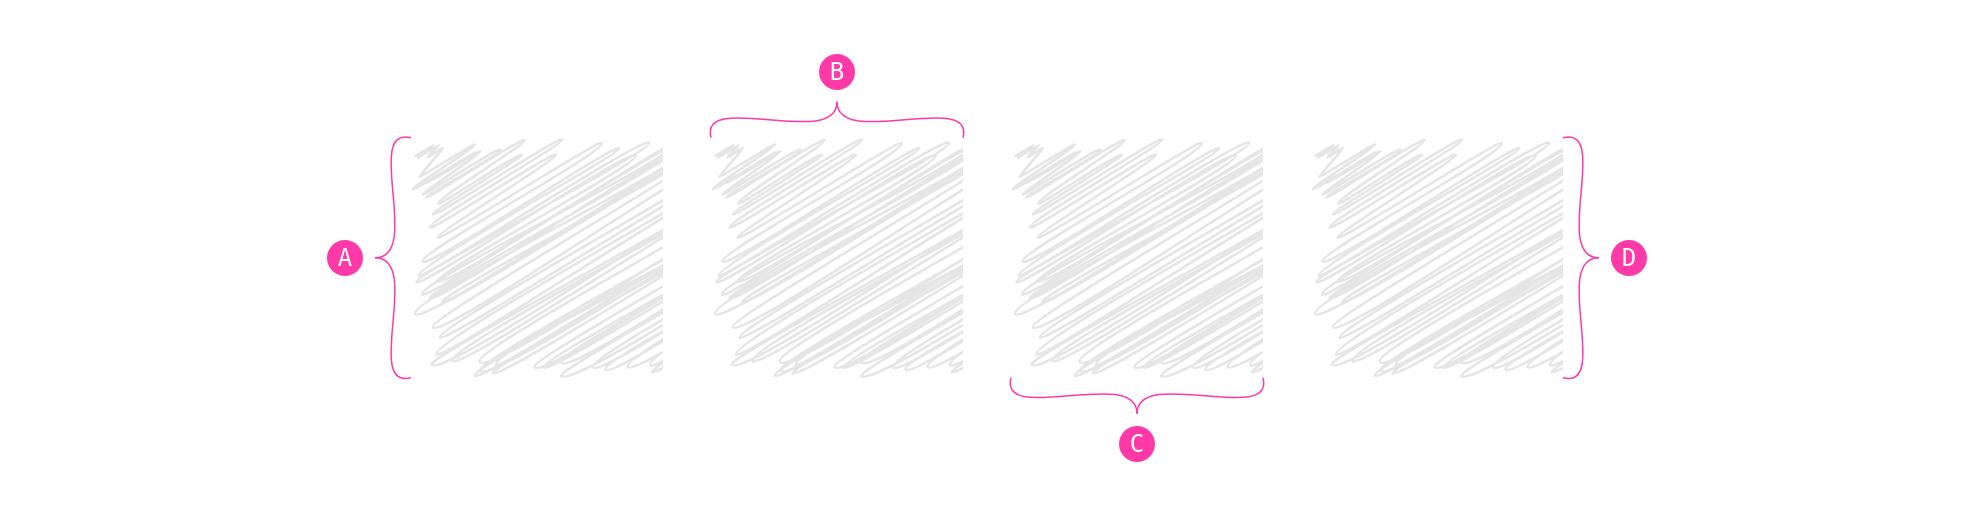
You can use curly brackets with the curly tag in data-speccer along side pin bracket, or options.pin = { brackets: true, curly: true} to provide a more sleek style.
Keep in mind
Only works with pin bracket
Important
If any SVG options are used, remember to add the required svg element to the document.
Enclose
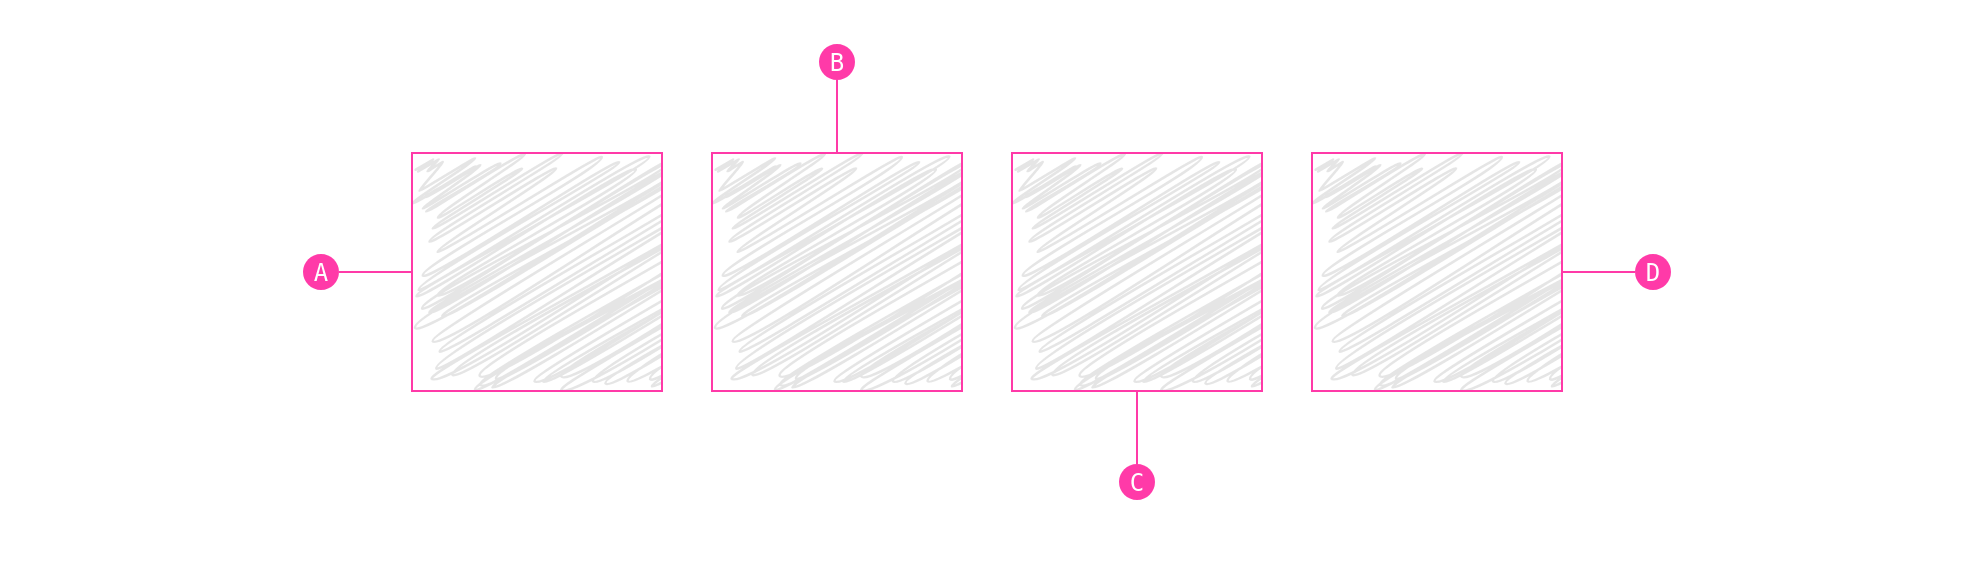
Via <script>-tag
<script src="https://unpkg.com/@phun-ky/speccer/dist/speccer.js"></script>
<div data-speccer="pin-area">
  <div data-speccer="pin enclose" class="…"></div>
</div>
Programmatically
const element = document.querySelector('.my-element');
const options = {
  slug: 'pinQuick',
  type: 'pin',
  pin: {
    enclose: true
  }
};
await pinElement(element, element.parentElement, 'A', options);
Pin With Text
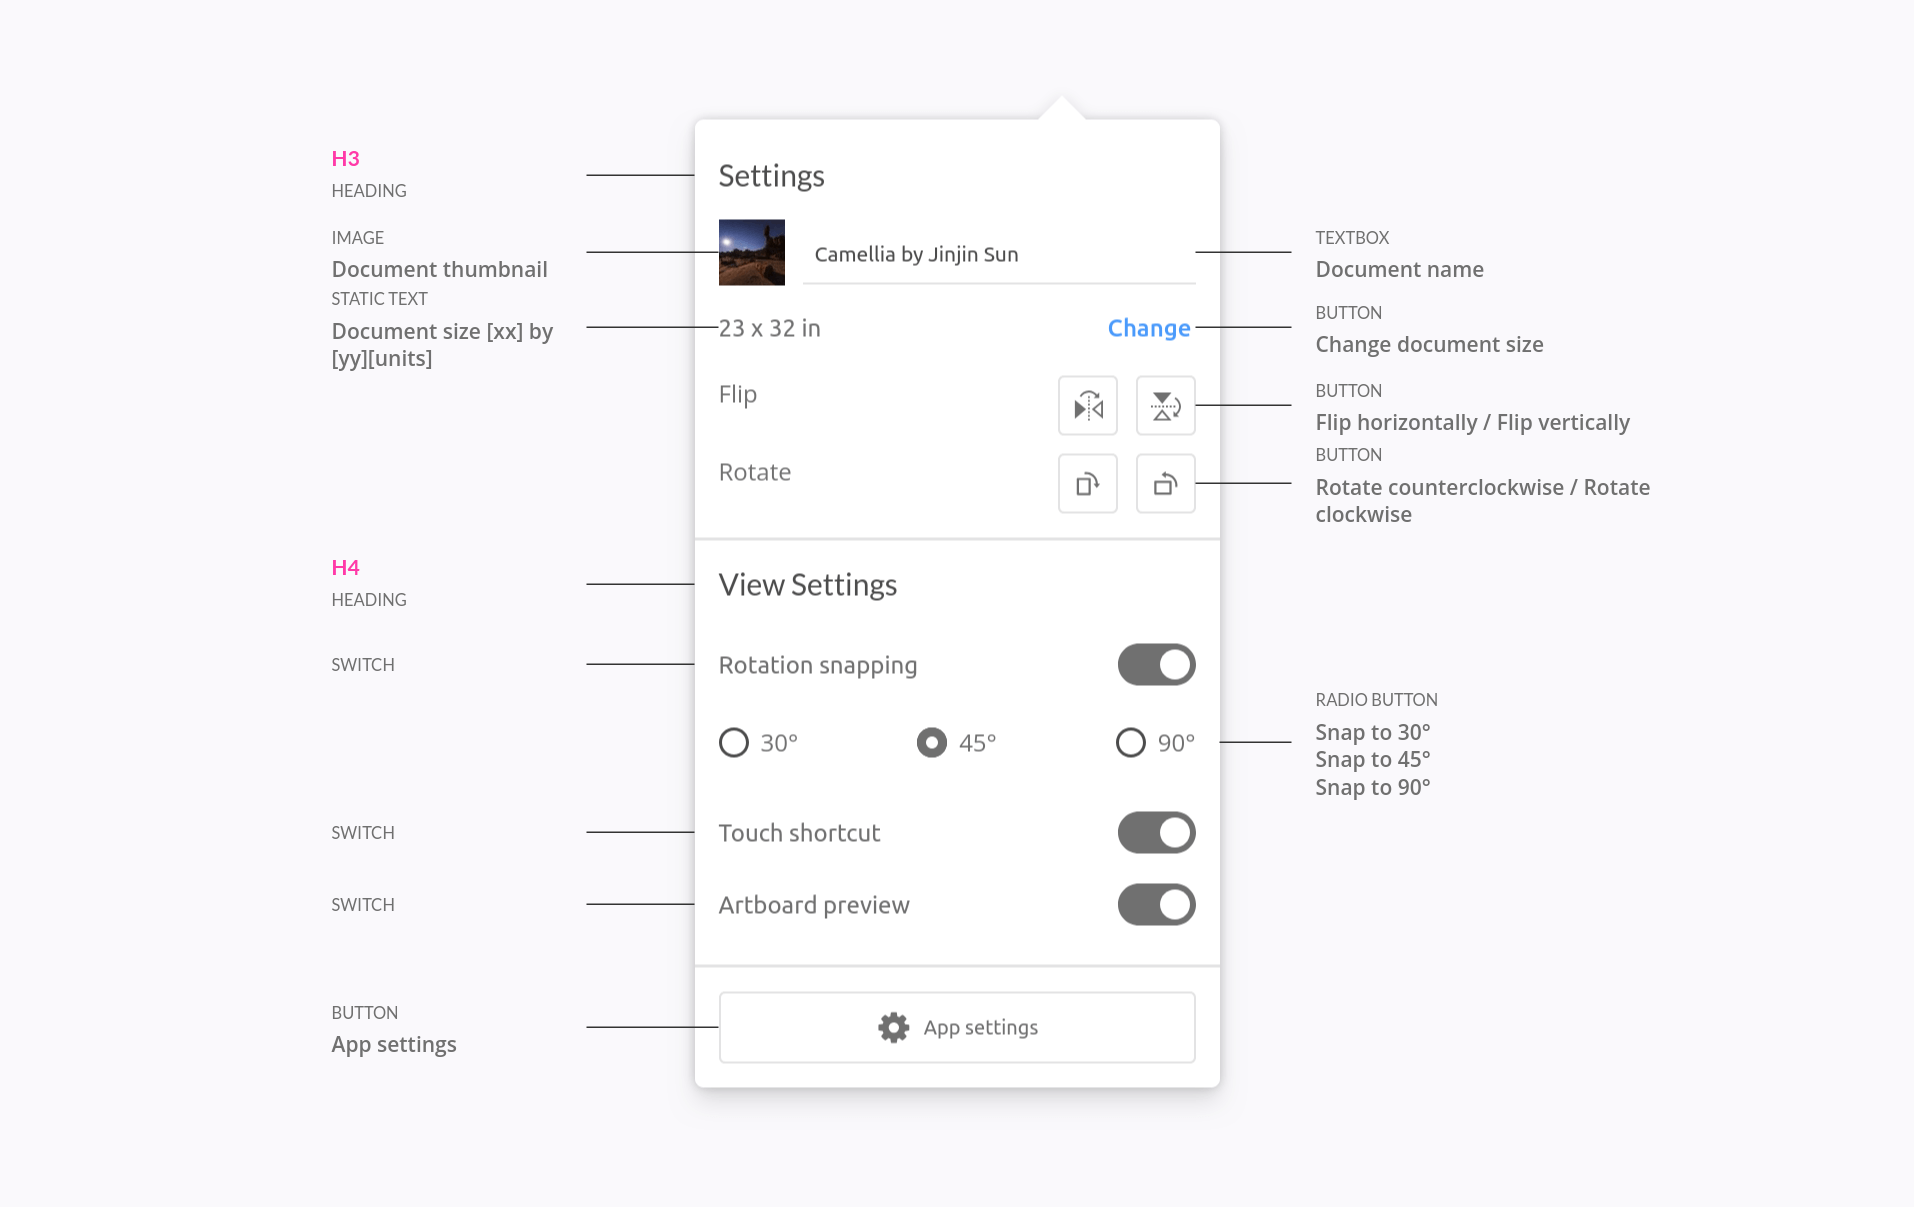
Important
Text pins are connected to their target with an SVG line, so remember to add the required svg element to the document.
If you want text-in-place pinning feature, instead of referencing the pins, you can use the text feature:
<script src="https://unpkg.com/@phun-ky/speccer/dist/speccer.js"></script>
<input
  type="text"
  …
  data-speccer="pin left text"
  data-speccer-title="Static text"
  data-speccer-description="Document size [xx] by [yy][units]"
  …
/>
Per now, this feature has no programmatic equivalent.
INFO
Headings (h1-h6) automatically get a coloured tag above the title, reflecting the tag-name of the heading. You can customize this with the CSS variables.
Customize
If you want to customize the look and feel of the text UI, you can style these CSS classes:
.ph-speccer.title {
  …
}
.ph-speccer.description {
  …
}
Subtle Anatomy
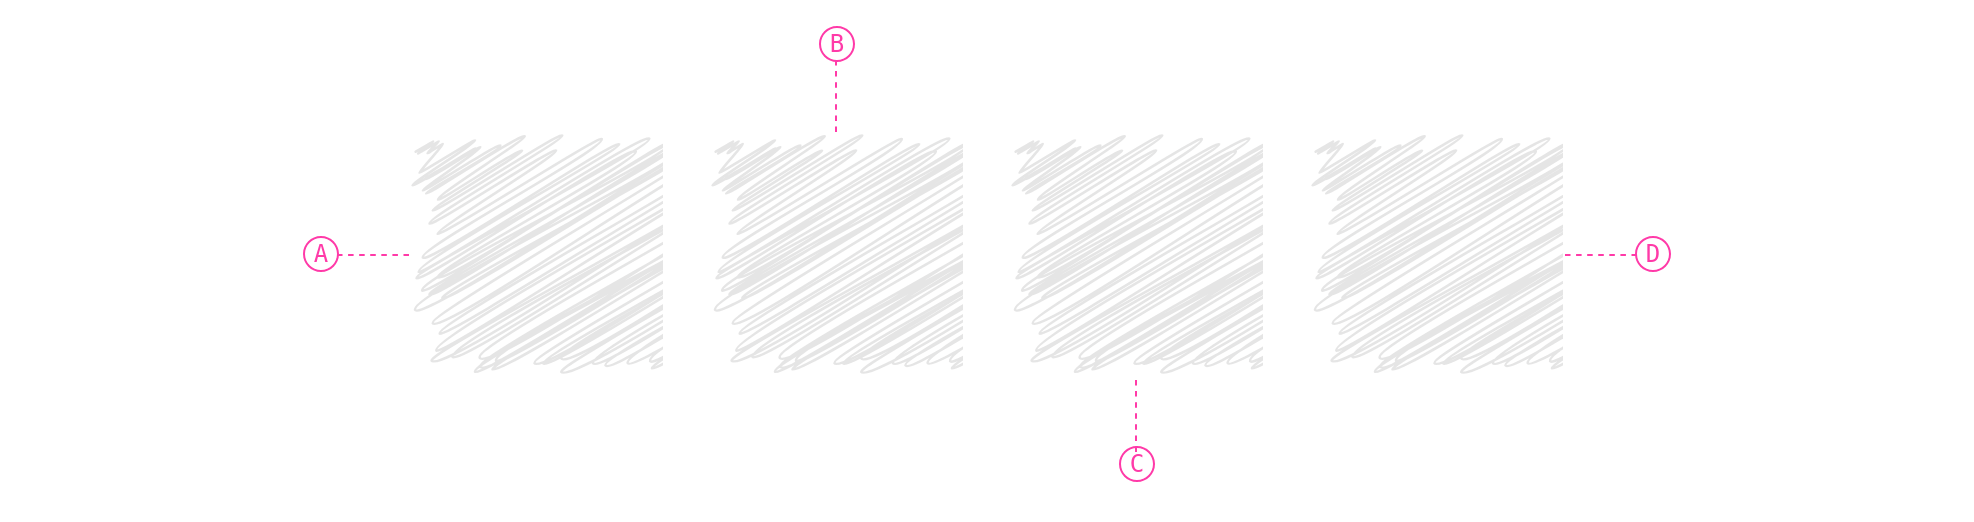
You can also give a more subtle touch to the anatomy elements.
<script src="https://unpkg.com/@phun-ky/speccer/dist/speccer.js"></script>
<div data-speccer="pin-area">
  <div data-speccer="pin top subtle" class="…"></div>
</div>
This will give a dashed border, and a more subtle pin style.
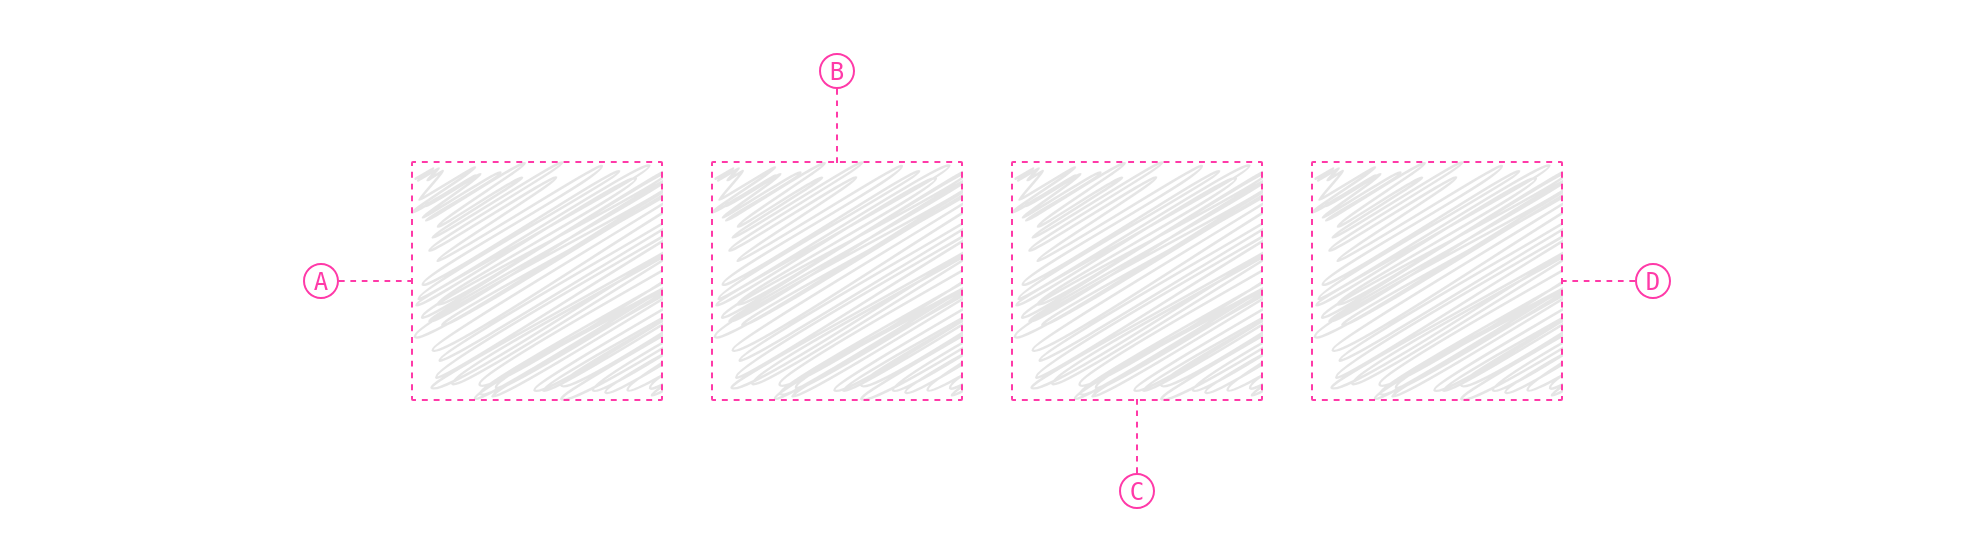
Via <script>-tag
<script src="https://unpkg.com/@phun-ky/speccer/dist/speccer.js"></script>
<div data-speccer="pin-area">
  <div data-speccer="pin enclose subtle" class="…"></div>
</div>
Programmatically
const element = document.querySelector('.my-element');
const options = {
  slug: 'pinQuick',
  type: 'pin',
  pin: {
    enclose: true,
    subtle: true
  }
};
await pinElement(element, element.parentElement, 'A', options);
Align With Parent Container
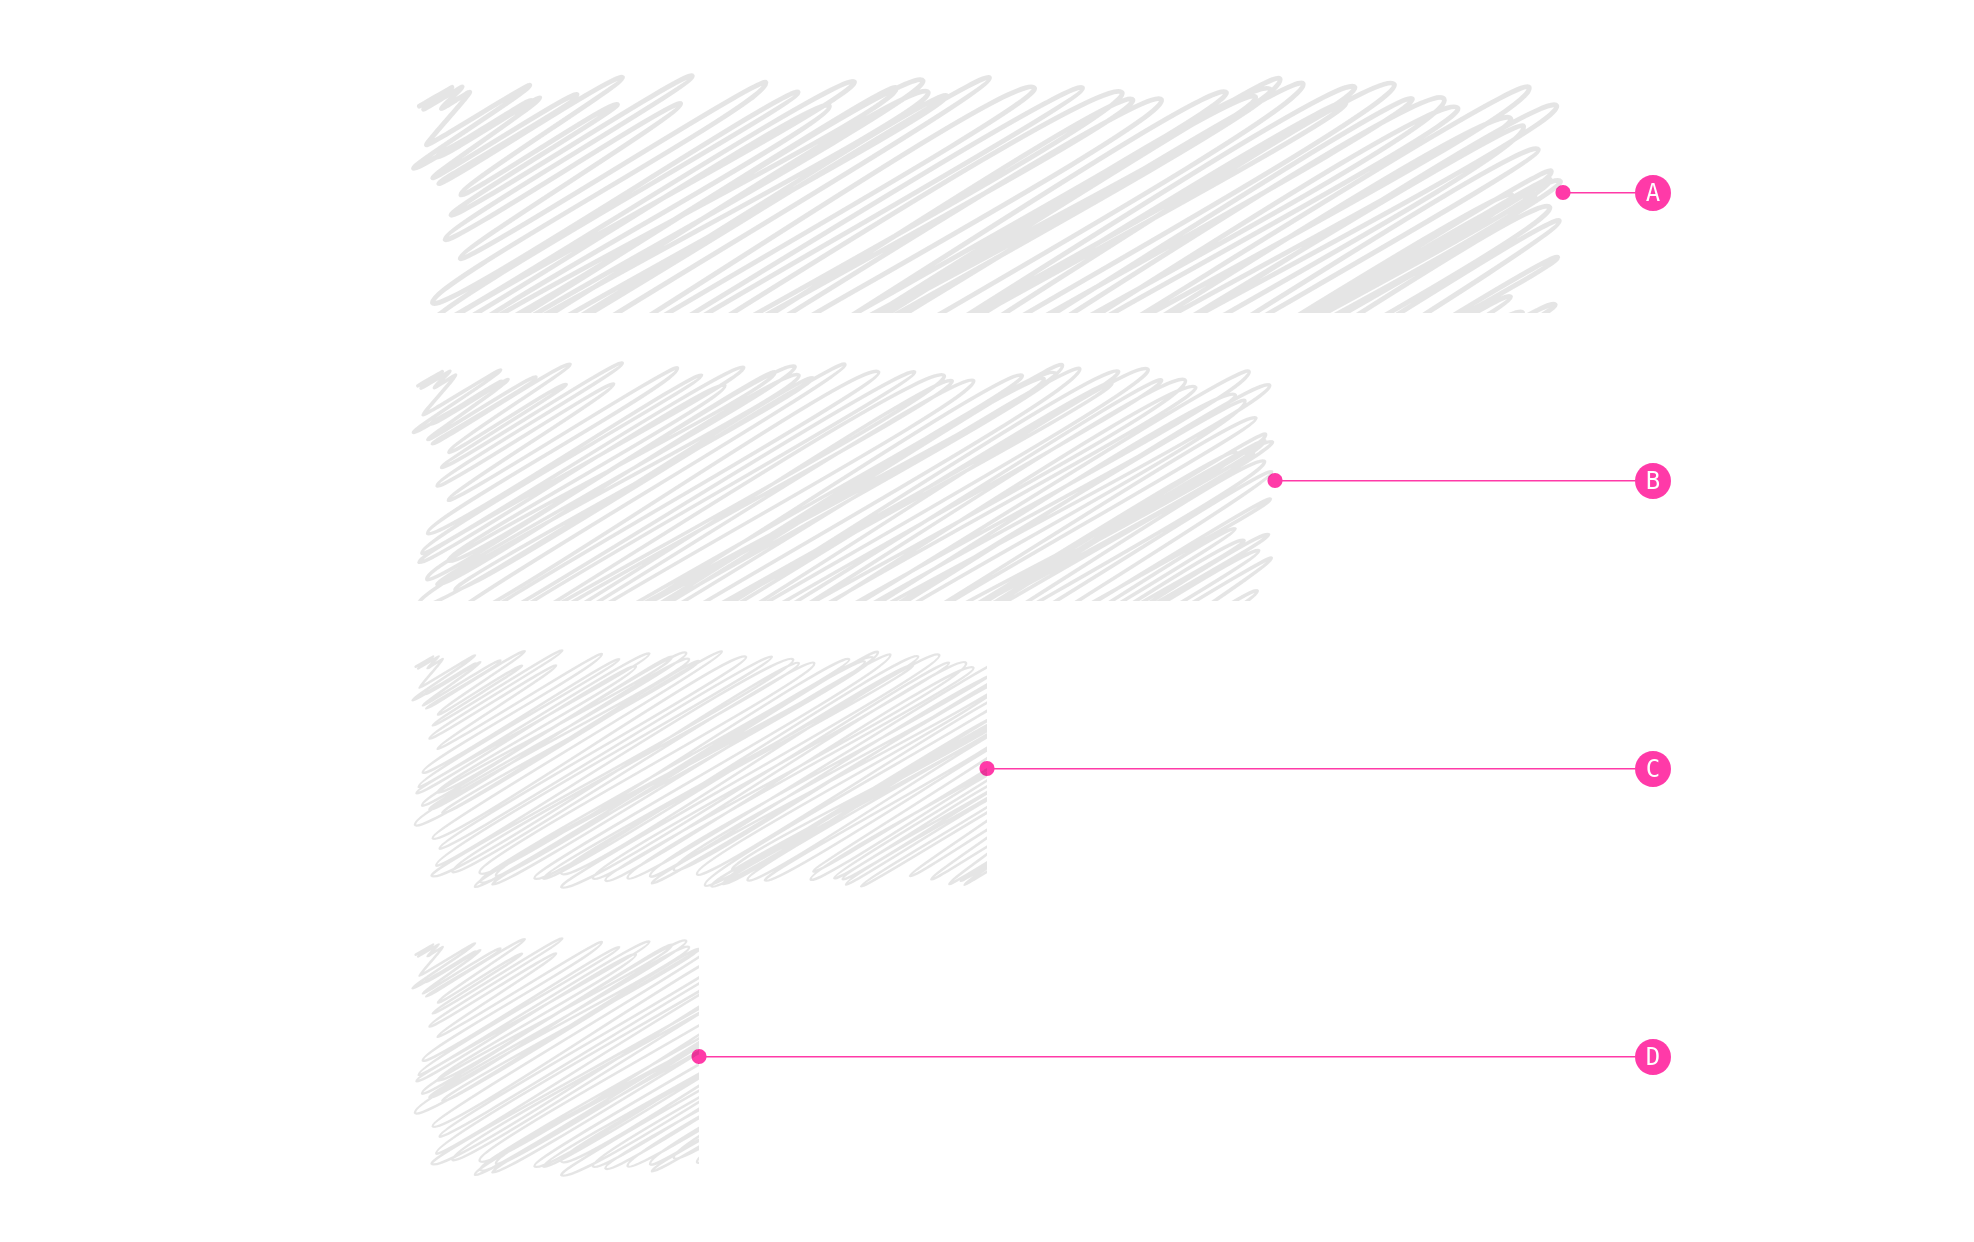
You can also align the pins to the parent container.
Important
Pins aligned to the parent container are connected to their target with an SVG line, so remember to add the required svg element to the document.
Via <script>-tag
<script src="https://unpkg.com/@phun-ky/speccer/dist/speccer.js"></script>
<div data-speccer="pin-area">
  <div data-speccer="pin parent [left|right|top|bottom]" class="…"></div>
</div>
Programmatically
const element = document.querySelector('.my-element');
const options = {
  slug: 'pinQuick',
  type: 'pin',
  pin: {
    parent: true
  }
};
await pinElement(element, element.parentElement, 'A', options);
Note
Only works with pin [left|right|top|bottom], and not with enclose, bracket or curly!
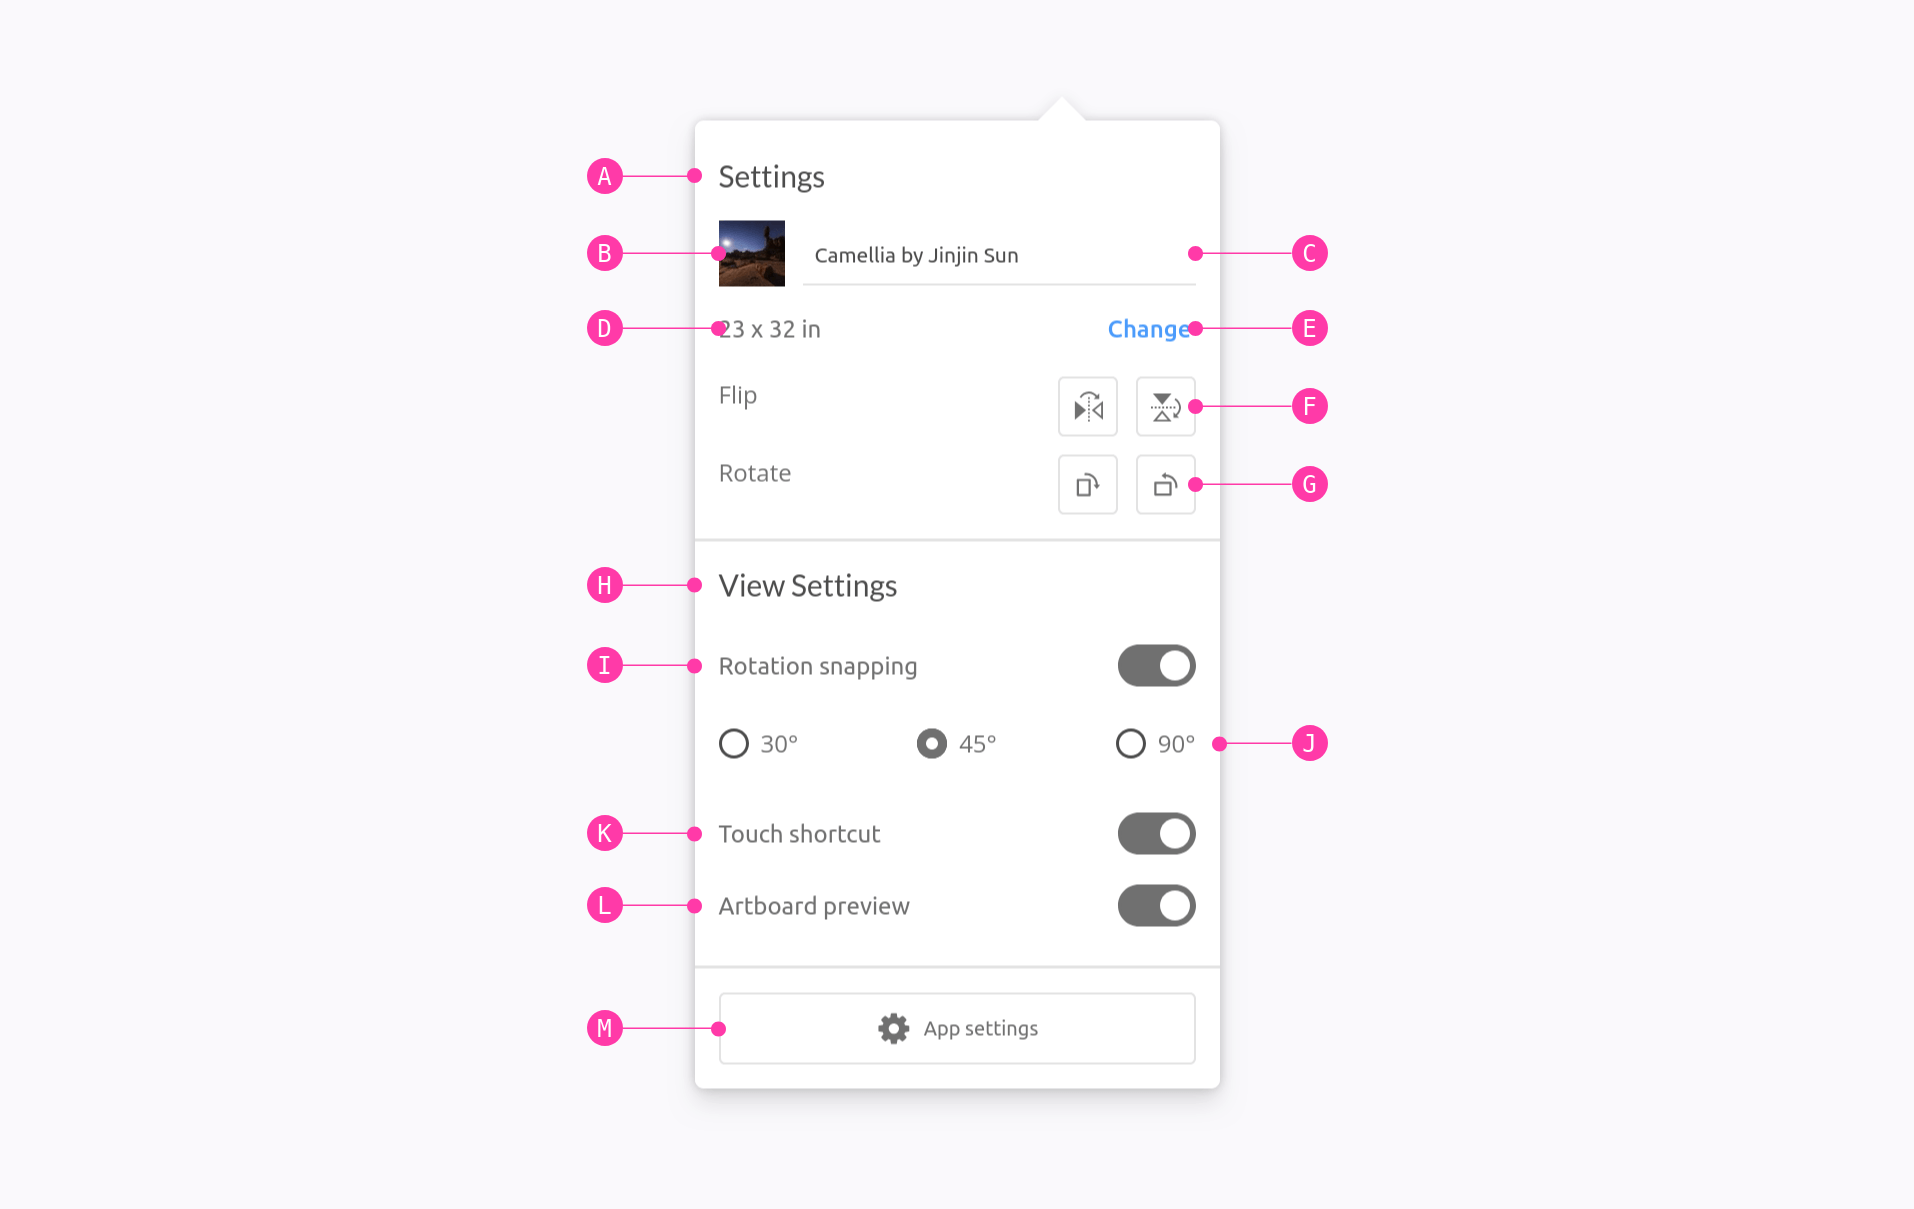
Custom Literals
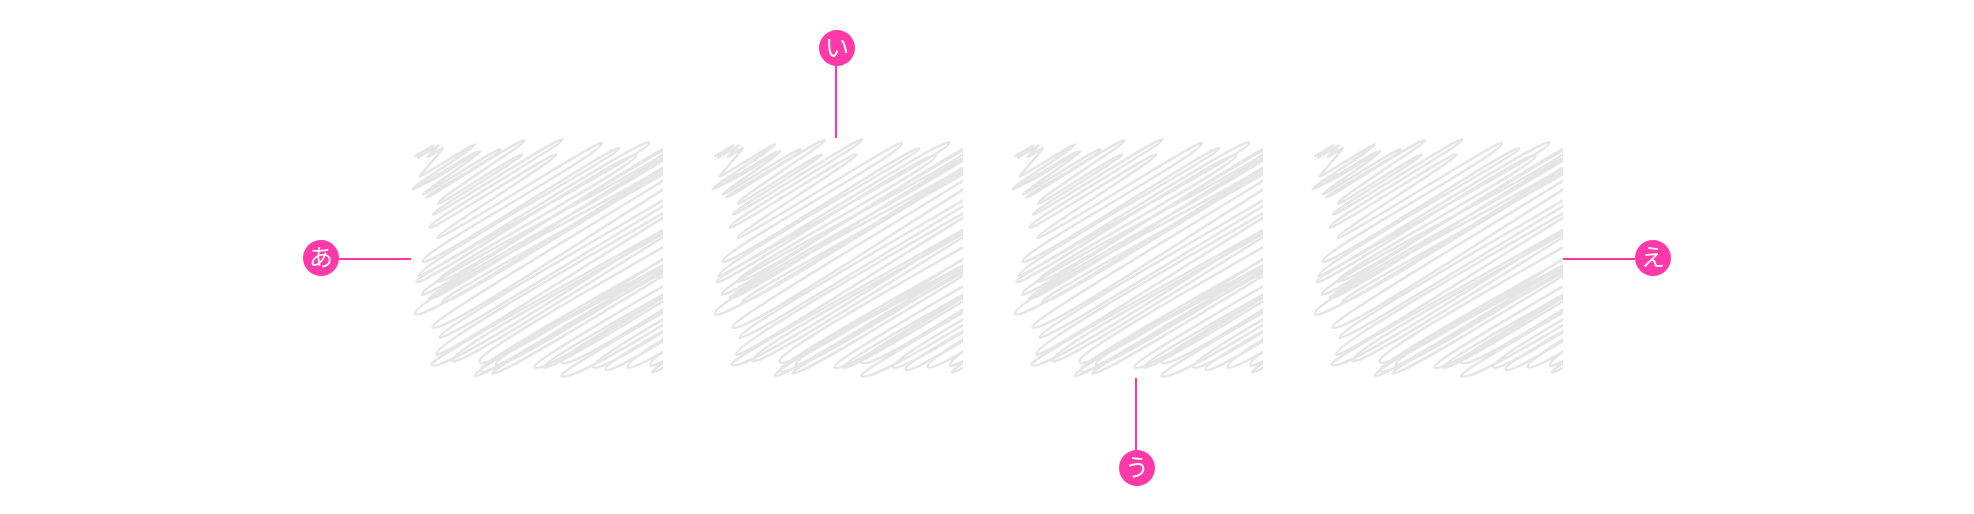
You can use custom literals by assigned a global variable with the literals you want:
window.SPECCER_LITERALS = [
  'あ',
  'い',
  'う',
  'え',
  'お',
  'か',
  'き',
  'く',
  …
];
Or with a data attribute on the data-speccer="pin-area"-element:
<script src="https://unpkg.com/@phun-ky/speccer/dist/speccer.js"></script>
<div data-speccer="pin-area" data-speccer-literals="ऄ|अआइईउऊऋऌऍऎएऐऑऒओऔकखगघङच">
  …
</div>
Try it out with emoticons!
window.SPECCER_LITERALS = [
  '🥰',
  …
];